
how-to
7 Steps to Photograph a Beachfront Vacation Rental
November 12, 2026 · 10 min read
Last Updated: November 11, 2026
Quick Summary
To photograph a beachfront vacation rental, clean and stage every room first, then shoot with a tripod at ISO 100-200 and f/8 to f/11. Expose for the ocean view and blend a second frame for the interior, and lead your gallery with the strongest water view.
- Wash windows inside and out, especially the ones facing the water.
- Shoot in RAW to preserve detail in bright windows and dark corners.
- Bracket three to five frames per scene at one-stop intervals.
- Shoot east-facing views in the morning and west-facing views late afternoon.
- Lead the gallery with the strongest exterior or ocean-view shot.
Table of Contents
- Step 1: Clean and Stage Your Beachfront Vacation Rental for Photos
- How to Stage a Vacation Rental for Photos Room by Room
- Best Camera Settings for Real Estate Photography
- How to Photograph Ocean Views Without Blowing the Exposure
- Your Vacation Rental Photo Checklist and Shot Sequence
- Turn Better Photos Into More Bookings With GCLuxuryRentals
- Frequently Asked Questions
Step 1: Clean and Stage Your Beachfront Vacation Rental for Photos
Great listing photos start with a spotless home. Before you think about camera gear, you need to know how to photograph a beachfront vacation rental in a way that makes guests stop scrolling. Homes with the strongest bookings tend to share one trait: they look flawless before the shutter ever clicks.
Clean first, stage second. Dust reads as damage in a photo. Smudged glass turns an ocean view into a gray blur.
- Wash windows inside and out, especially the ones facing the water
- Wipe down all mirrors, glass tables, and patio doors
- Clear countertops of cords, bottles, and paper
- Remove personal items, trash cans, and cleaning supplies
- Fluff pillows and smooth every bedspread
- Sweep sand from patios, steps, and entryways
A common mistake is rushing the clean. Guests zoom in on photos, so a single hair on a pillow can be noticed.
For a room-by-room routine, our Airbnb cleaning checklist covers every space and lets you print it right from the page.
How to Stage a Vacation Rental for Photos Room by Room
Staging means styling the space so it feels warm and inviting, not lived-in. You want guests to picture themselves there. Small touches do more than expensive furniture.
Living spaces: Pull furniture slightly off the walls. Add a throw blanket and two pillows. One plant or vase is enough.
Bedrooms: Use crisp white bedding. Keep nightstands simple with one lamp and one book.
Kitchens: Clear the counters. Set out a bowl of fruit or a coffee setup. Open the curtains.
Bathrooms: Roll towels, add a small tray with soap, and hide the toiletries.
Outdoor areas: Arrange patio chairs around a table. Wipe down railings. Make sure the pool or hot tub looks clean and blue.
Watch out: over-staging looks like a catalog and feels cold. Aim for comfortable and real, not perfect.
Best Camera Settings for Real Estate Photography
The best camera settings for real estate photography balance bright interiors with a clear view outside. A tripod and steady settings often matter more than a fancy lens.
Here is a simple starting point:
| Setting | Starting Point | Why It Works |
|---|---|---|
| ISO | 100-200 | Keeps the image clean and sharp |
| Aperture | f/8 to f/11 | Keeps the whole room in focus |
| Shutter speed | 1/60s or slower on a tripod | Lets in more light |
| White balance | Daylight or auto | Keeps colors true to life |
| Format | RAW | Gives you room to edit later |
Shooting in RAW can preserve detail in bright windows and dark corners.
Use a wide-angle lens for rooms, but keep lines straight. Tilt the camera up and walls lean. Keep it level.
How to Photograph Ocean Views Without Blowing the Exposure
Ocean views are often the hardest part of beachfront rental photography. The bright sky, bright sand, and reflective water fool your camera's meter into darkening the whole room, so you end up with a glowing white window and a cave-like interior.
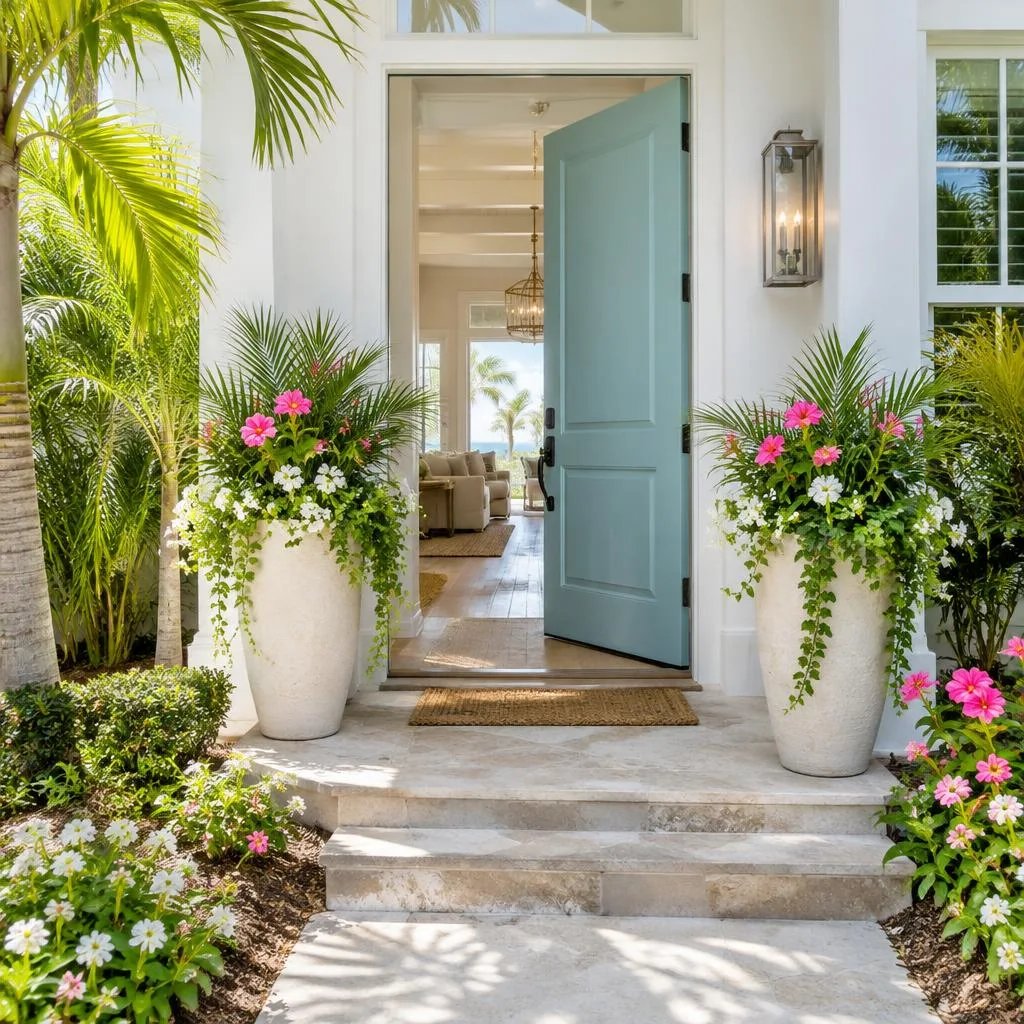
Start with the view, not the room. Turn on every interior light, open all curtains and blinds, and switch on under-cabinet and lamp lighting. Point the camera at the window and set exposure so the horizon and water hold detail, the sky should not clip to pure white.
Bracket as a habit. Set your camera to auto exposure bracketing at one-stop intervals and fire three to five frames per scene. On a tripod, this costs seconds and gives you a clean interior frame, a clean view frame, and everything between. Phones can do this too: most recent models have an HDR mode that merges frames automatically, which is often enough for a balcony shot.
Control glare and reflections. Bright sand and water bounce light in every direction. Shoot through glass only when it is clean, and stand at an angle to limit reflections in the frame.
Time the light around the coast. Sunrise and sunset give softer light and a sky that won't blow out, and the low sun rakes across sand and water in a way that reads as depth.
Match interior and exterior color. White balance drifts between the warm interior lights and the cool blue of the ocean and sky. Set white balance manually to daylight and correct the rest in editing, or shoot RAW and adjust per frame.
Watch out: chasing a dramatic sunset can backfire. If the sun is directly in frame, the room goes dark and the view turns into a silhouette. Shoot the dramatic sky as a separate hero image, and keep the room-and-view shots for softer light.
Your Vacation Rental Photo Checklist and Shot Sequence
A vacation rental photo checklist keeps you from missing a space, and a booking-oriented sequence makes the gallery easy to browse. For a beachfront home, the order matters more than for a city rental: guests are scanning for the water first, then checking whether the inside lives up to it.
Lead with the reason guests clicked. Your first photo should be the strongest exterior or ocean-view shot, the one that says "beachfront" in a single glance. Follow it with a second view shot from a different angle or time of day so the lead isn't a one-off.
Then move through the outdoor living spaces. Patio, deck, pool, hot tub, outdoor shower, and the path to the sand. These are the spaces that justify a beachfront premium, so give them real coverage rather than one token frame.
Then the interior, room by room. Living room wide, then a detail of the seating; kitchen wide, then a close-up of the counters and coffee setup; each bedroom wide, then the bed detail; each bathroom clean and bright.
Close with the view and the access. Show the true distance to the sand. Include a straight-on shot of the path, stairs, or boardwalk, and a shot from the property looking toward the water so guests can judge the walk for themselves.
A room-by-room checklist to work from:
- Lead exterior or ocean view (plus one alternate)
- Patio, deck, and pool or hot tub
- Outdoor dining and seating
- Beach access path, stairs, or boardwalk
- View from the property toward the water
- Living room wide and detail
- Kitchen wide and counter detail
- Each bedroom wide and bed detail
- Each bathroom
- Entry, hallway, and any guest-accessible bonus space
- Laundry or utility space if guests use it
Keep people and identifying details out of beach shots. Other beachgoers, neighbors' homes, and house numbers can all create privacy or permission problems. If a drone shot would help show the setting, check local rules and get permission before flying near neighboring properties.
Watch out: a gallery that leads with a bedroom instead of the water buries the property's main selling point. Put the beach and view first, and let the interior confirm what the lead photo promised.
Turn Better Photos Into More Bookings With GCLuxuryRentals
GCLuxuryRentals is a family-run business founded by Airbnb Superhost Ambassador Elizabeth Claunch. We manage luxury homes on Florida's Gulf Coast as if they were our own. Our services include cleaning, revenue management, and maintenance.
For more ways to lift your income, read 7 Steps to Maximize Vacation Rental Revenue. If you'd rather hand off the work, explore our luxury property management or schedule a call to talk through your property and a peak-season plan.
Getting great photos takes time, and keeping a home camera-ready between guests takes a team. If you own a luxury property and want it managed to a five-star standard, GCLuxuryRentals can help. We handle cleaning, maintenance, and revenue management, with the pricing strategies and hands-on care that keep calendars full. Get started with GCLuxuryRentals and turn your beachfront home into a top-performing listing.
Frequently Asked Questions
What is the best time of day to photograph a beachfront vacation rental?
Early morning and the hour before sunset give the softest light and the most forgiving exposure. Midday sun creates hard shadows on patios and washes out ocean views through windows. Shoot the exterior and ocean-facing rooms during golden hour, then move to interior rooms with less direct sun during the middle of the day. Check the weather forecast and reschedule if storms or heavy haze are coming.
How many photos should a beachfront vacation rental listing have?
Aim for 25 to 35 high-quality photos that cover every guest-accessible space. Include the lead exterior shot, living areas, kitchen, each bedroom, bathrooms, outdoor spaces, and the beach access. More photos help guests picture their stay, but only if each one is sharp, well-lit, and accurate. A vacation rental photo checklist keeps you from missing a room or repeating the same angle twice.
Should you hire a professional photographer for a vacation rental?
Professional photography can help show a beachfront vacation rental at its best, especially where ocean views are the main selling point. A pro brings a wide-angle lens, a tripod, and editing skills that keep colors accurate. If you shoot it yourself, follow the best camera settings for real estate photography and shoot in RAW so you can fix exposure later without losing detail.
How do you photograph ocean views without overexposing the windows?
Expose for the brightest part of the scene, which is the ocean and sky, then brighten the interior in editing rather than the other way around. Turn off the flash, use a tripod, and bracket your shots by taking three exposures at different brightness levels. Pull back the curtains and shoot from a slight diagonal so the view fills part of the frame without turning the room into a dark silhouette.

Planning a week?
Tell us your dates and group and we'll find the right home.